Gain agility starting today by connecting your two go-to tools. In just a few clicks, you let your teams benefit from a unified interface, cutting down on manual actions and the risk of forgetting to enter data.
Be an Administrator of your Un1ty account.
Have a Zendesk account (Agent or Admin access).
Know your Zendesk subdomain (e.g. d3v-un1ty for d3v-un1ty.zendesk.com).
For API key authentication: have the account email and the API Token generated in Zendesk.
The installation is launched directly from your Un1ty management interface.
In the left sidebar menu, click on the Plan section.
Scroll down to the bottom of the page to find the Integrations and API block.
Click on the All integrations option.
Find the Zendesk card in the list of available platforms.
Click on the Install integration button.

At this step, you define your connector's identity. Choose the method that matches your security policy:
Option A: OAuth connection (Recommended)
Integration name: Choose a clear name. Example: "Customer Support France".
Subdomain: Enter only the root of your Zendesk URL. Example: If your URL is d3v-un1ty.zendesk.com, just enter d3v-un1ty.
Select OAuth connection (recommended) then click Next.

Option B : API key
Integration name & Subdomain: Same as option A.
Email: The address of the Zendesk administrator who generated the key.
API token: Paste the token generated in your Zendesk interface.
Important note: For the API key option, make sure the token has been created with sufficient permissions in Zendesk > Admin > API, otherwise the connection will fail during validation.
Now define the scope of your integration:
Line selection: The list of your Un1ty lines is displayed. Tick the ones you want to sync with Zendesk.
Assignment: Click the Assign button to technically link these numbers to the connector.
5. Summary and confirmation
Before enabling the flow, check that your configuration is consistent on the summary screen:
Check: Make sure the instance name, target subdomain and number of associated lines are correct.
Start: Click the Confirm and Install button.
OAuth summaries:
API key summaries:
Notes: If you use the OAuth flow, a Zendesk pop-up window will open asking you to authorize the Un1ty app. Make sure your browser isn’t blocking pop-ups for this page.
Depending on what you chose at step 3, the final redirect is different:
If you chose OAuth: You’re redirected to the Zendesk consent page. Log in and approve access. You’ll then be sent back to Un1ty where the integration will show as Active.
If you chose API Key: You’re immediately redirected to the Manage my integrations page. The Zendesk integration appears with the status Active in green.
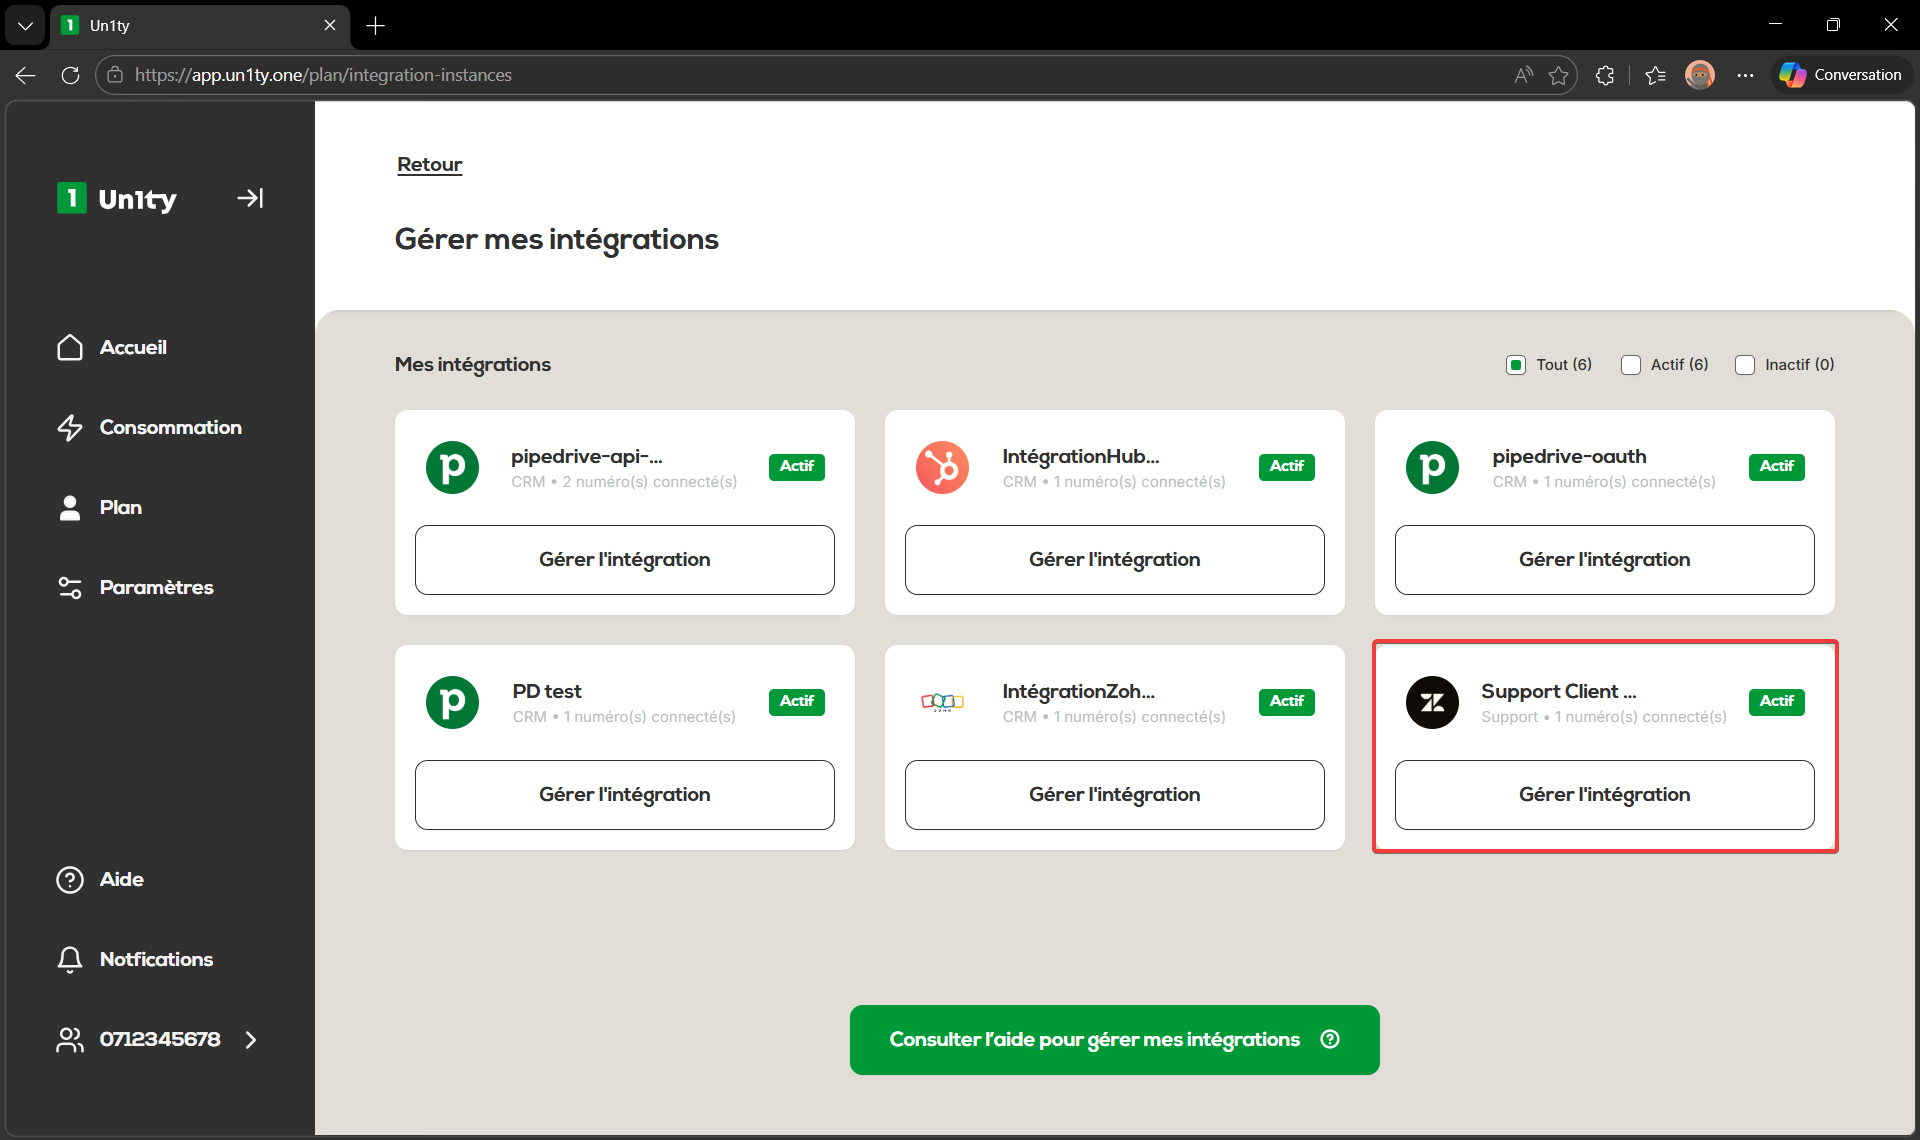
Management: Tracking is done via the Plan > Manage my integrations tab.
International format: Zendesk contacts must have a number in the +33... format to be recognized.
Security: Tokens are encrypted and automatically refreshed before they expire.
Flexibility: You can change the associated lines or rename the instance at any time.
Congrats! Your integration is set up.
Need to understand how your calls and SMS are turned into tickets?
Check out our guide: [Understand how Zendesk x Un1ty works].